Project Description
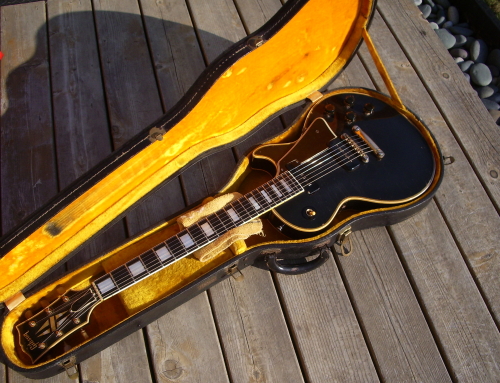
Doing a Les Paul conversion is one of the more challenging jobs a restoration shop gets challenged with…it separates the boys from the men, as they say !! The following 10 pictures document a conversion we did for my now good friend Doug Capener of Seattle, Washington. Getting a conversion done is stressful business…Doug has kindly offered to act as a reference for GM Vintage. His contact info is in the customer comments section…give him a call !!
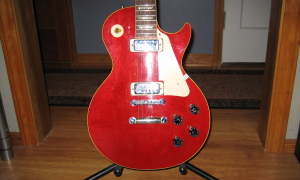
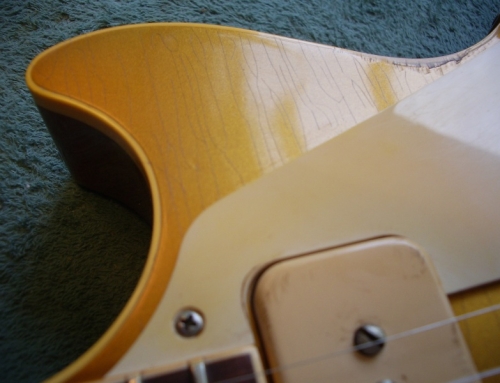
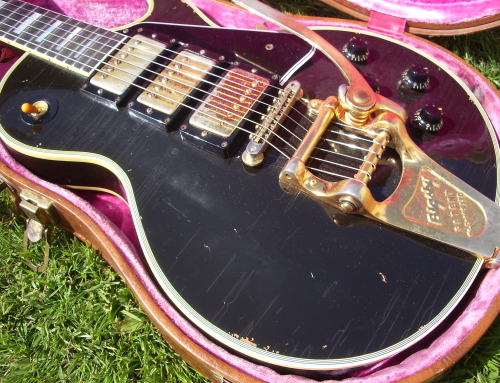
We begin with the guitar as it looked when Doug bought it, refinished in cherry red by Gibson back in the 70’s.While the neck angle may look okay in this picture…it wasn’t! The pickup cavities had been deepened considerably and the bridge had been totally ground down. Eagle eyed viewers will also note that the stop tailpiece was positioned too far back on the body
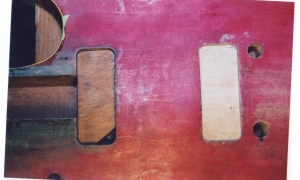
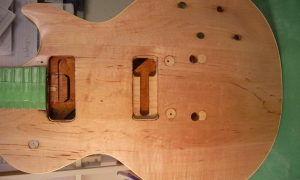
Then there’s some the body with the neck removed and the pickup cavities filled with new mahogany and maple. The finish has already been stripped in this photo…that red stain is right in the maple . Oh well…I love a challenge. Even though this guitar originally had a trapeze tailpiece, at some point it was also drilled for a wrap tailpiece. ( The holes were hidden by the bridge in picture number 1). Next, here’s the body with all the red stain removed, all the extra holes dowelled and the pickup cavities restored. Now it’s time to paint!!
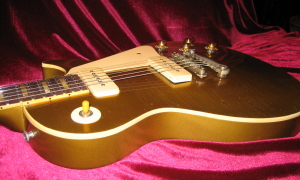
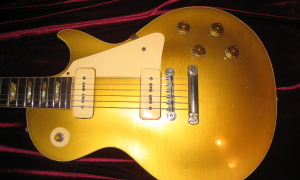
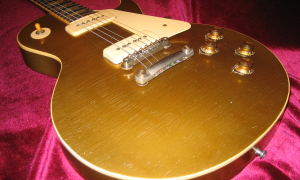
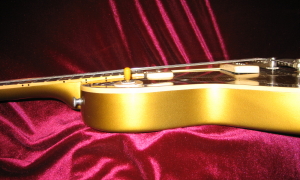
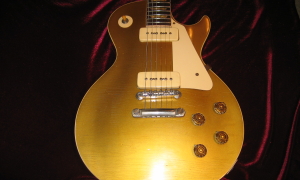
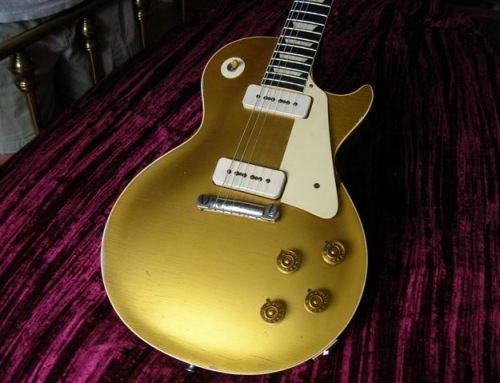
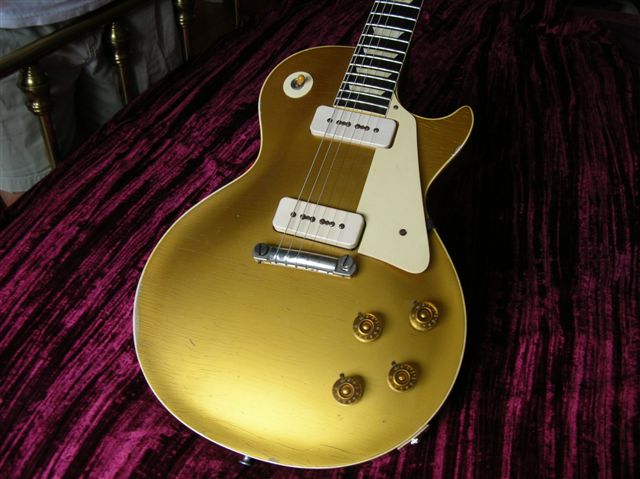
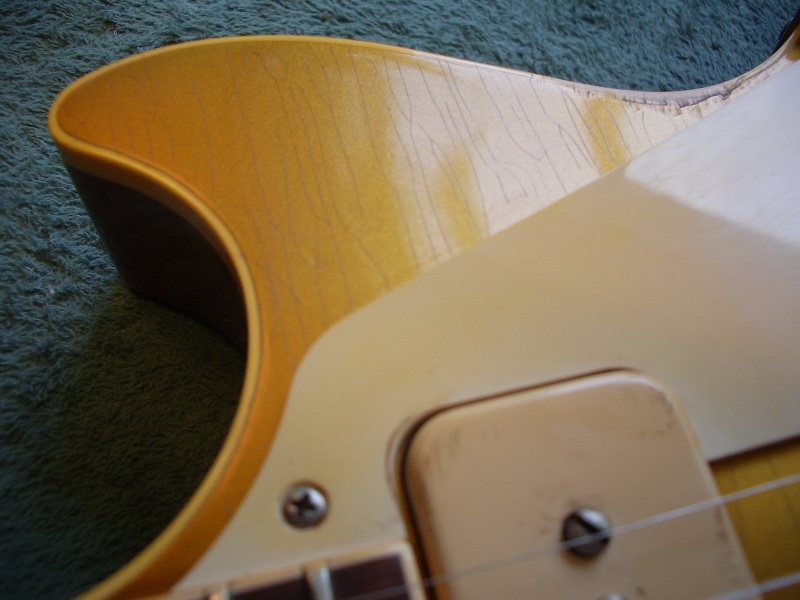
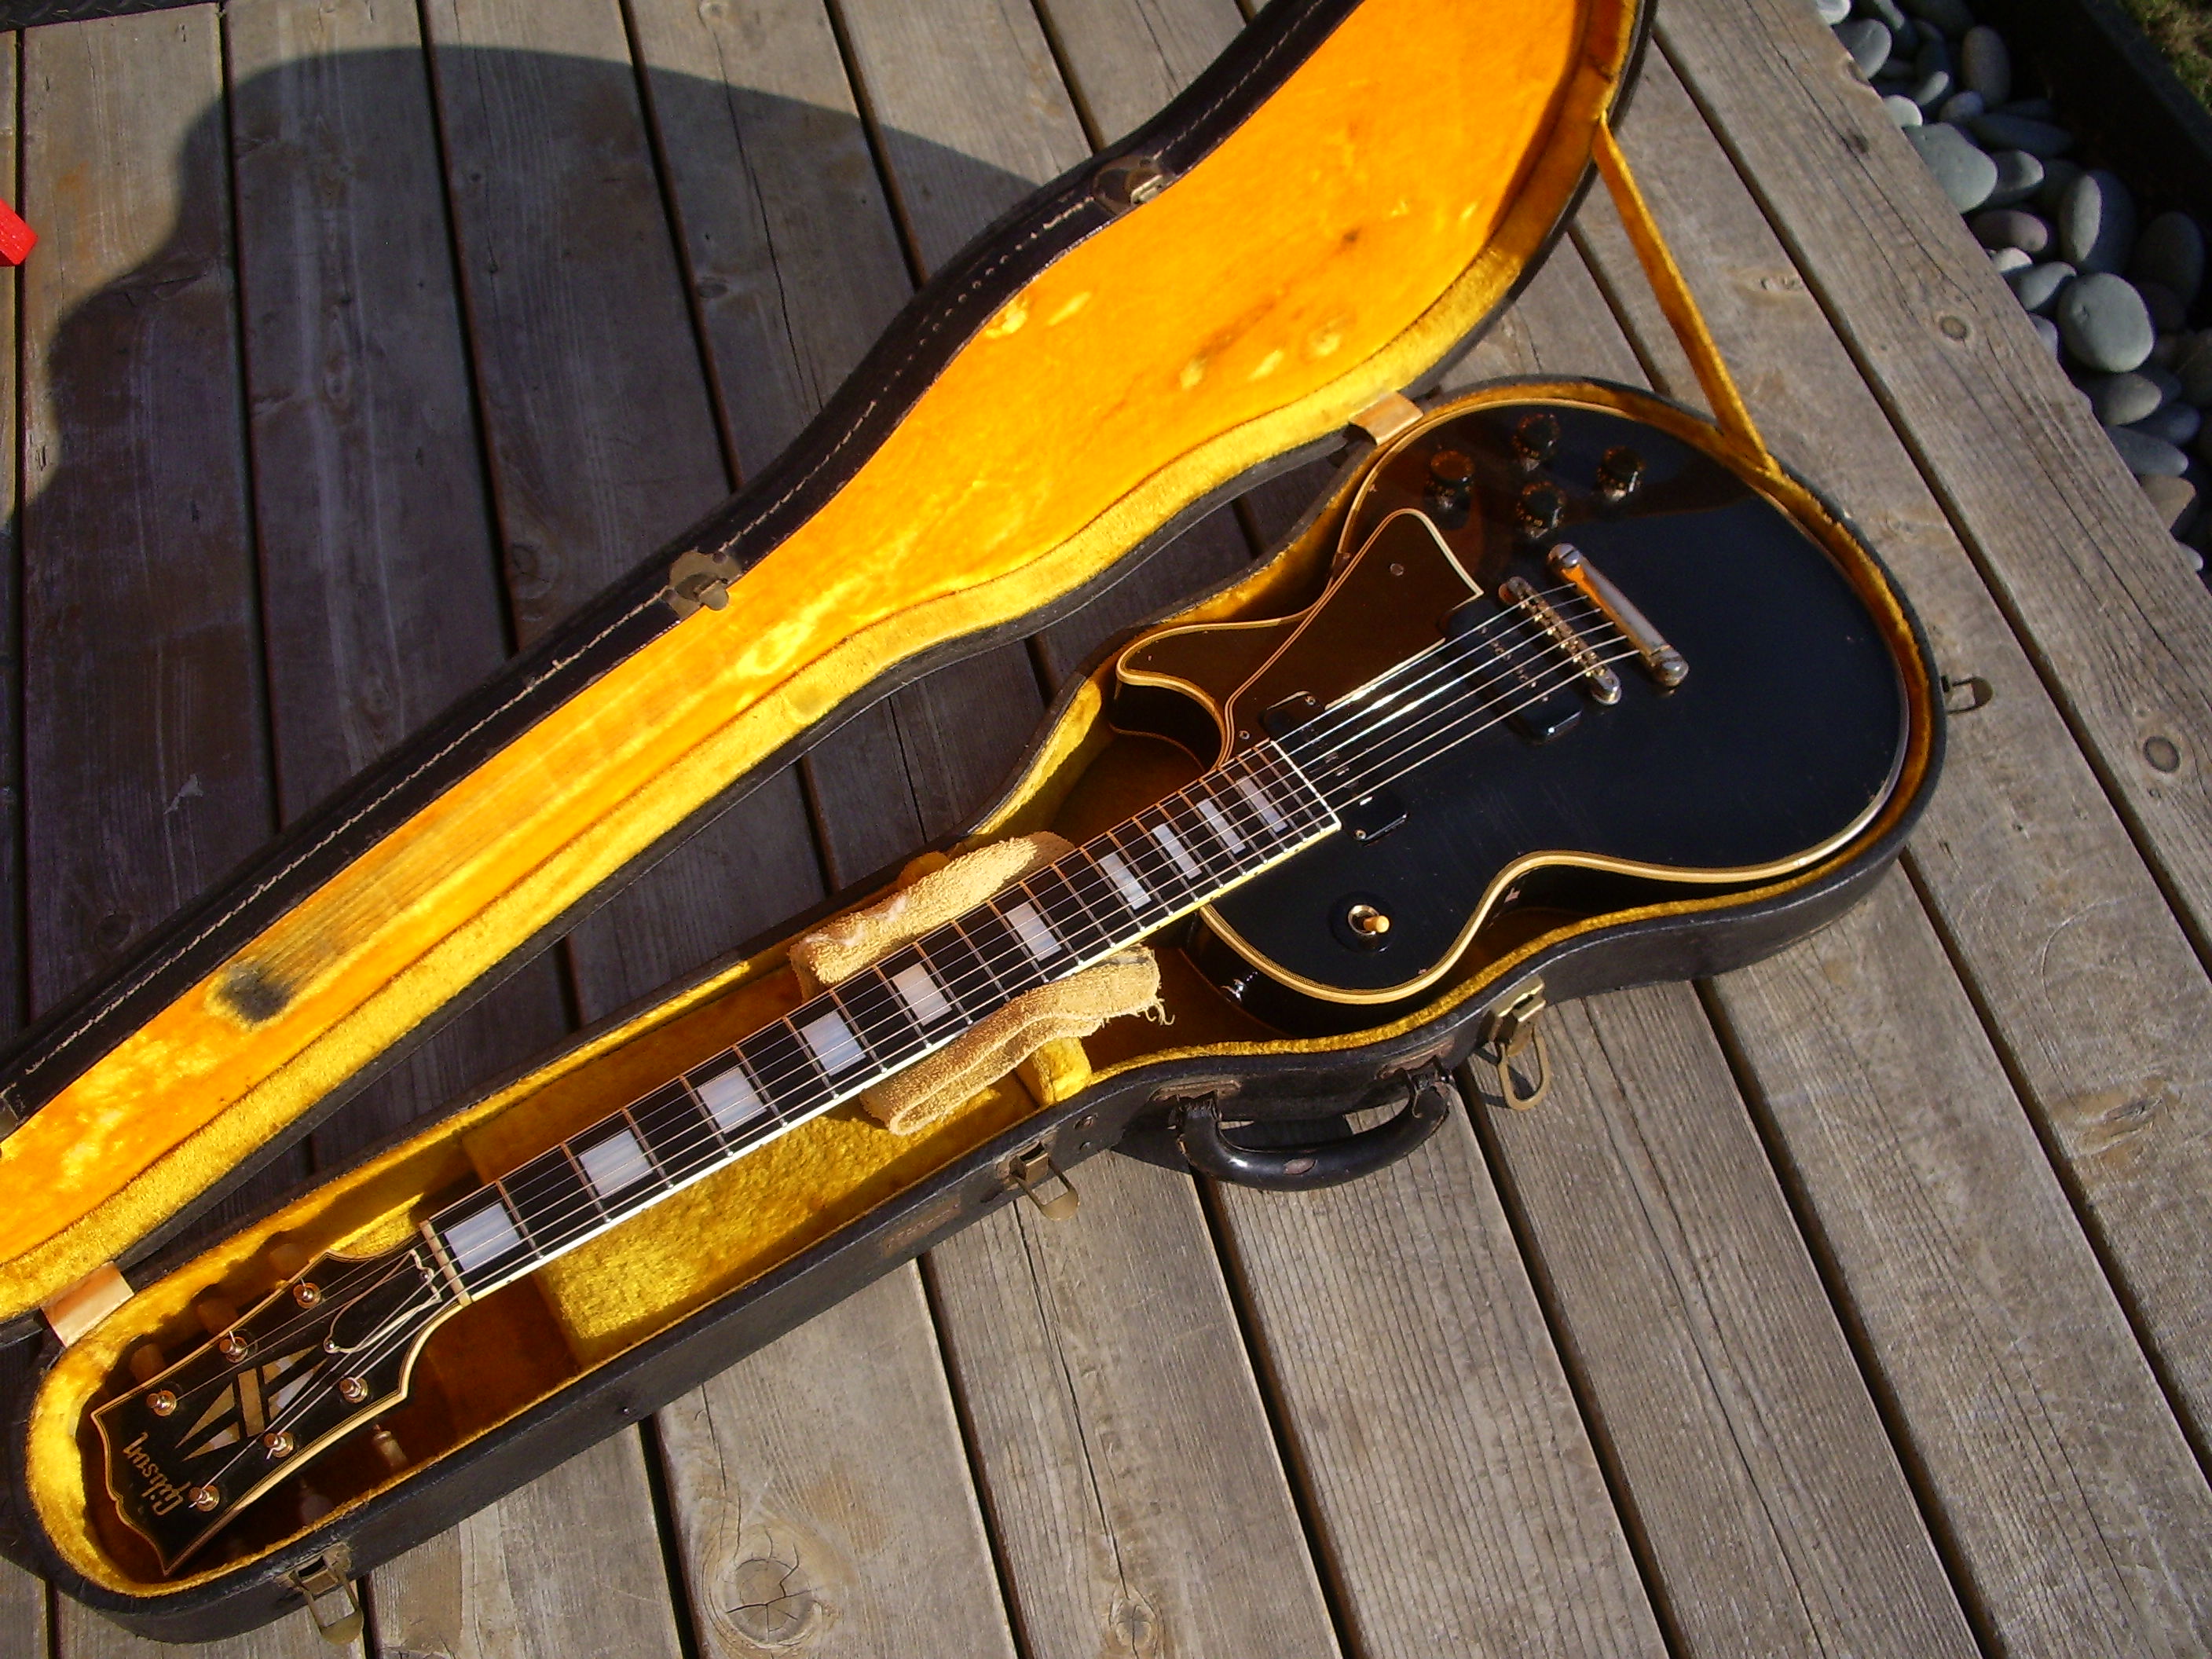
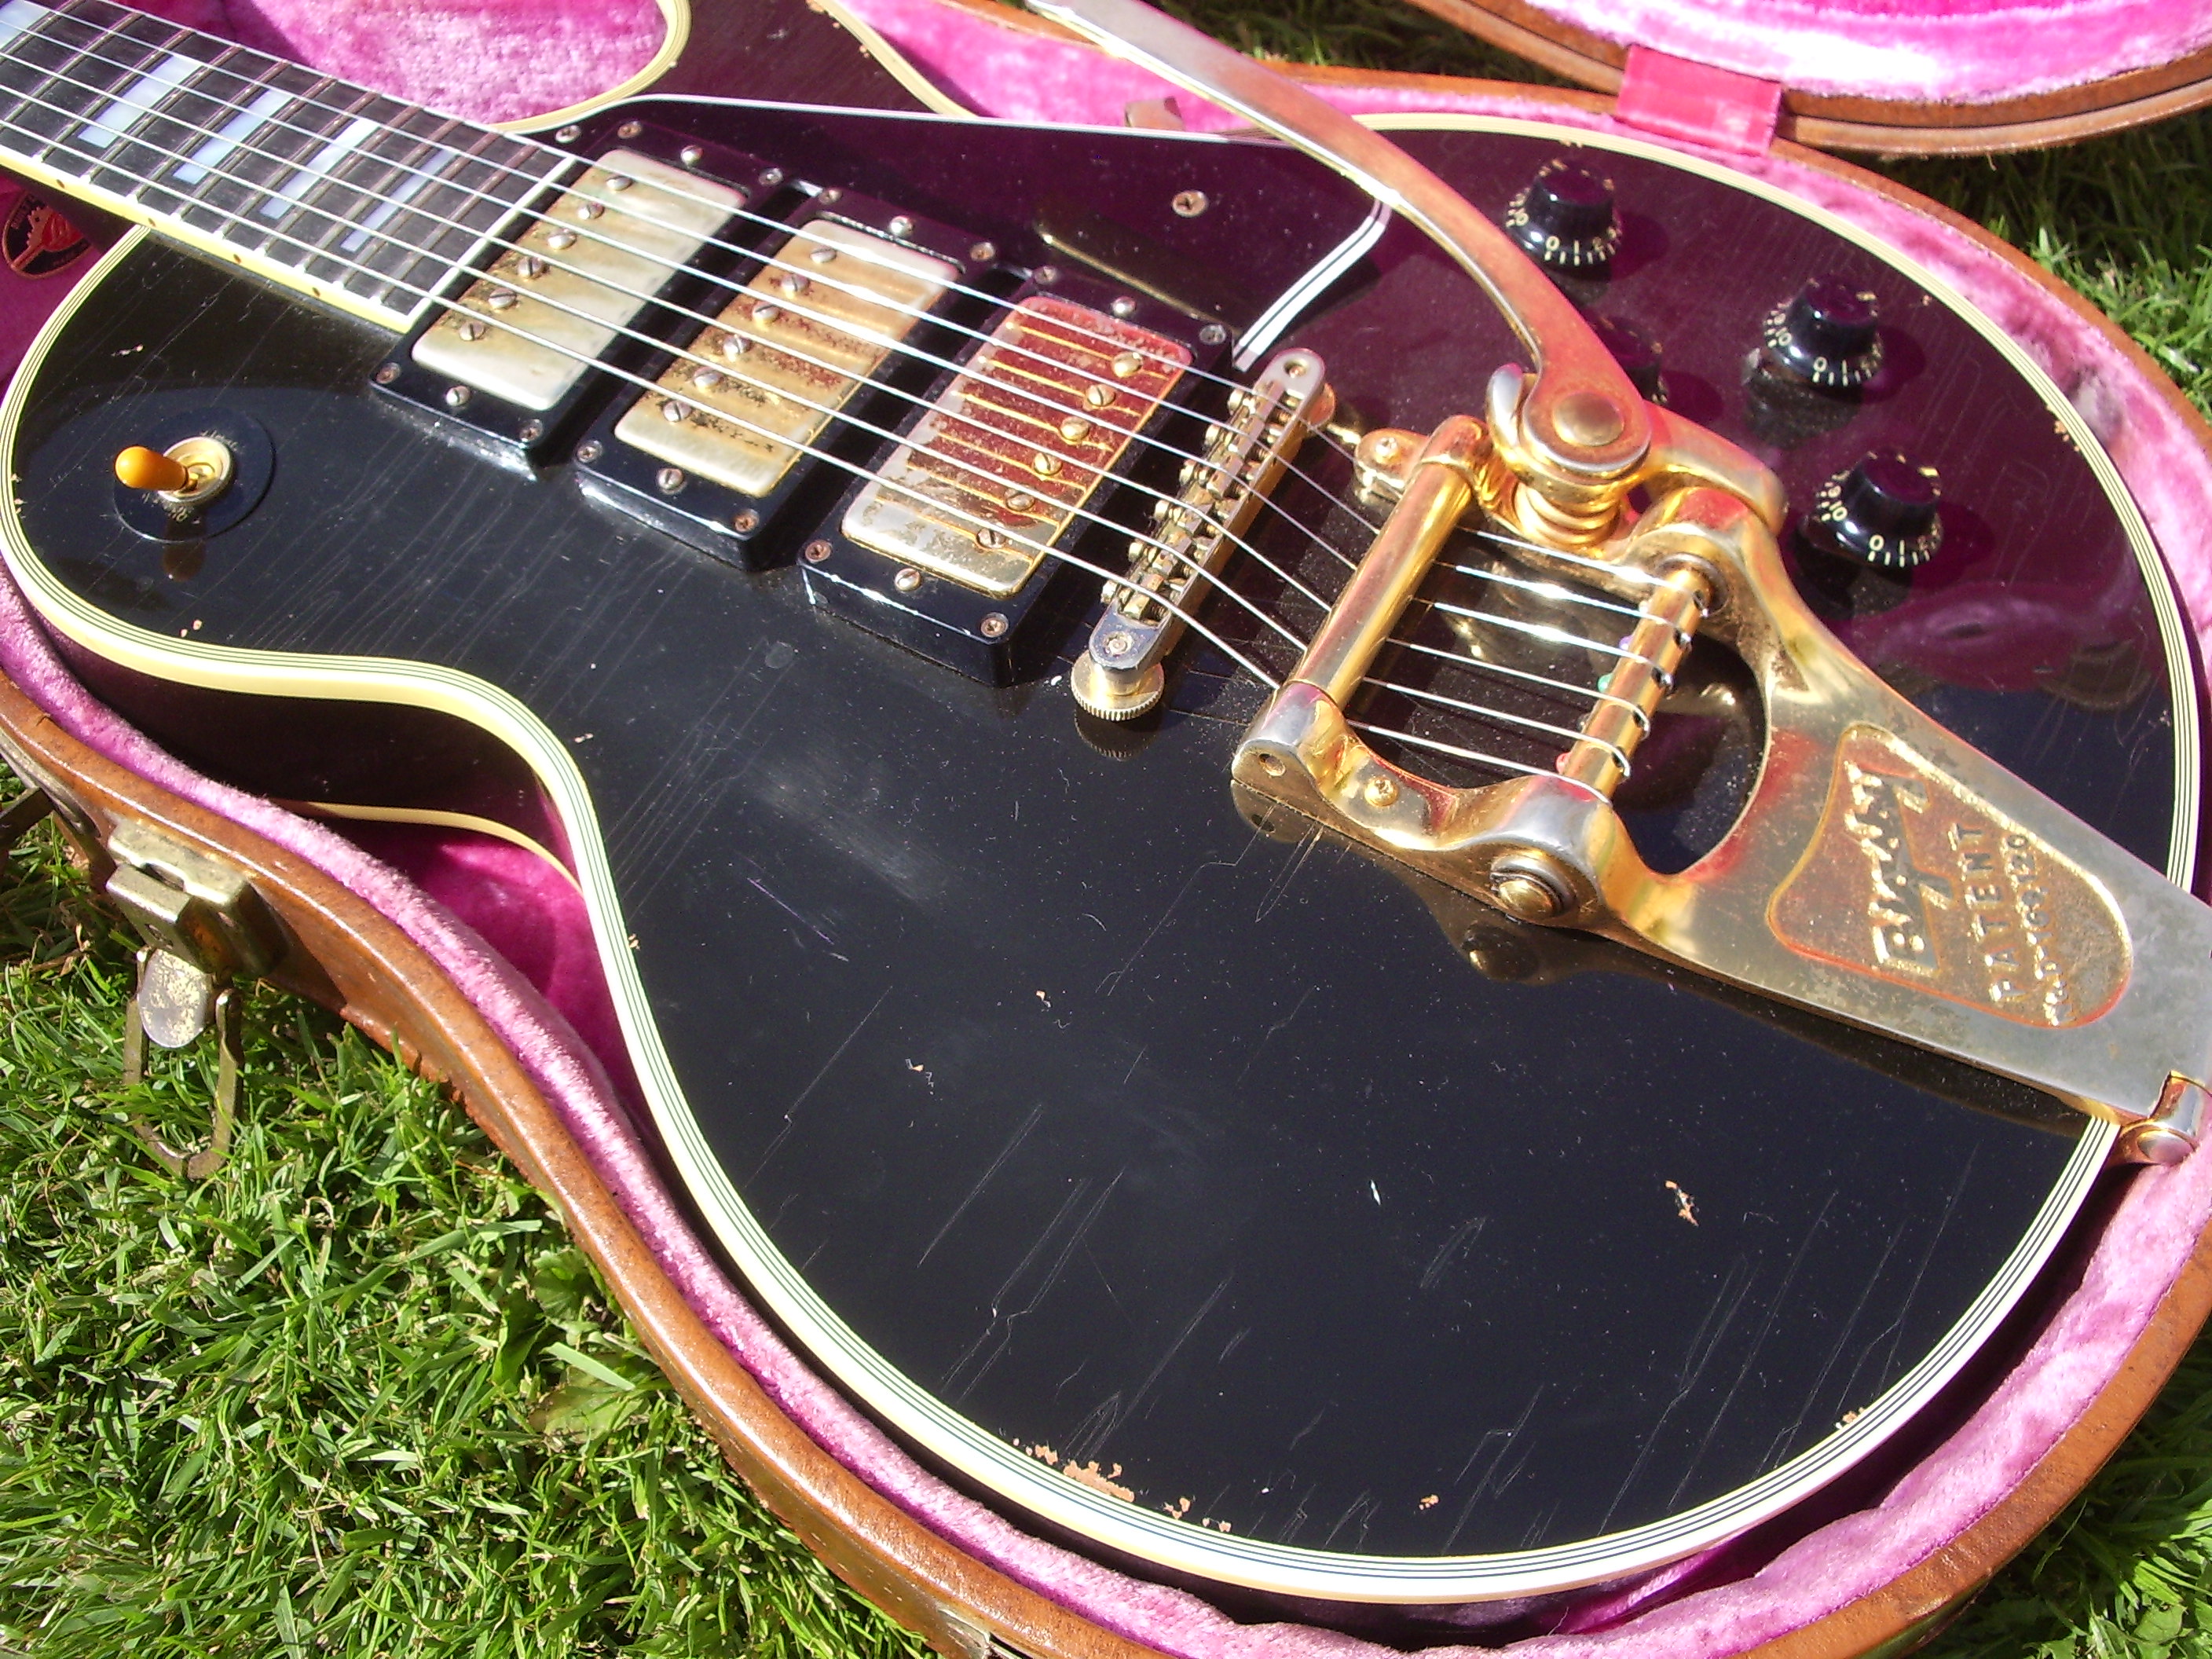
You can see the top view of the finished project showing detail of the lacquer checking and all the original parts Doug chased down. What a cool guitar!! All the guitar’s previous boo-boos are totally invisible! You can also see the new neck angle and string height in relation to the pickups and bridge…just where you want it!
I didn’t want to give this guitar back!!
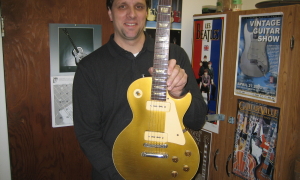
Proud father Doug Capener holds his new main squeeze!!
